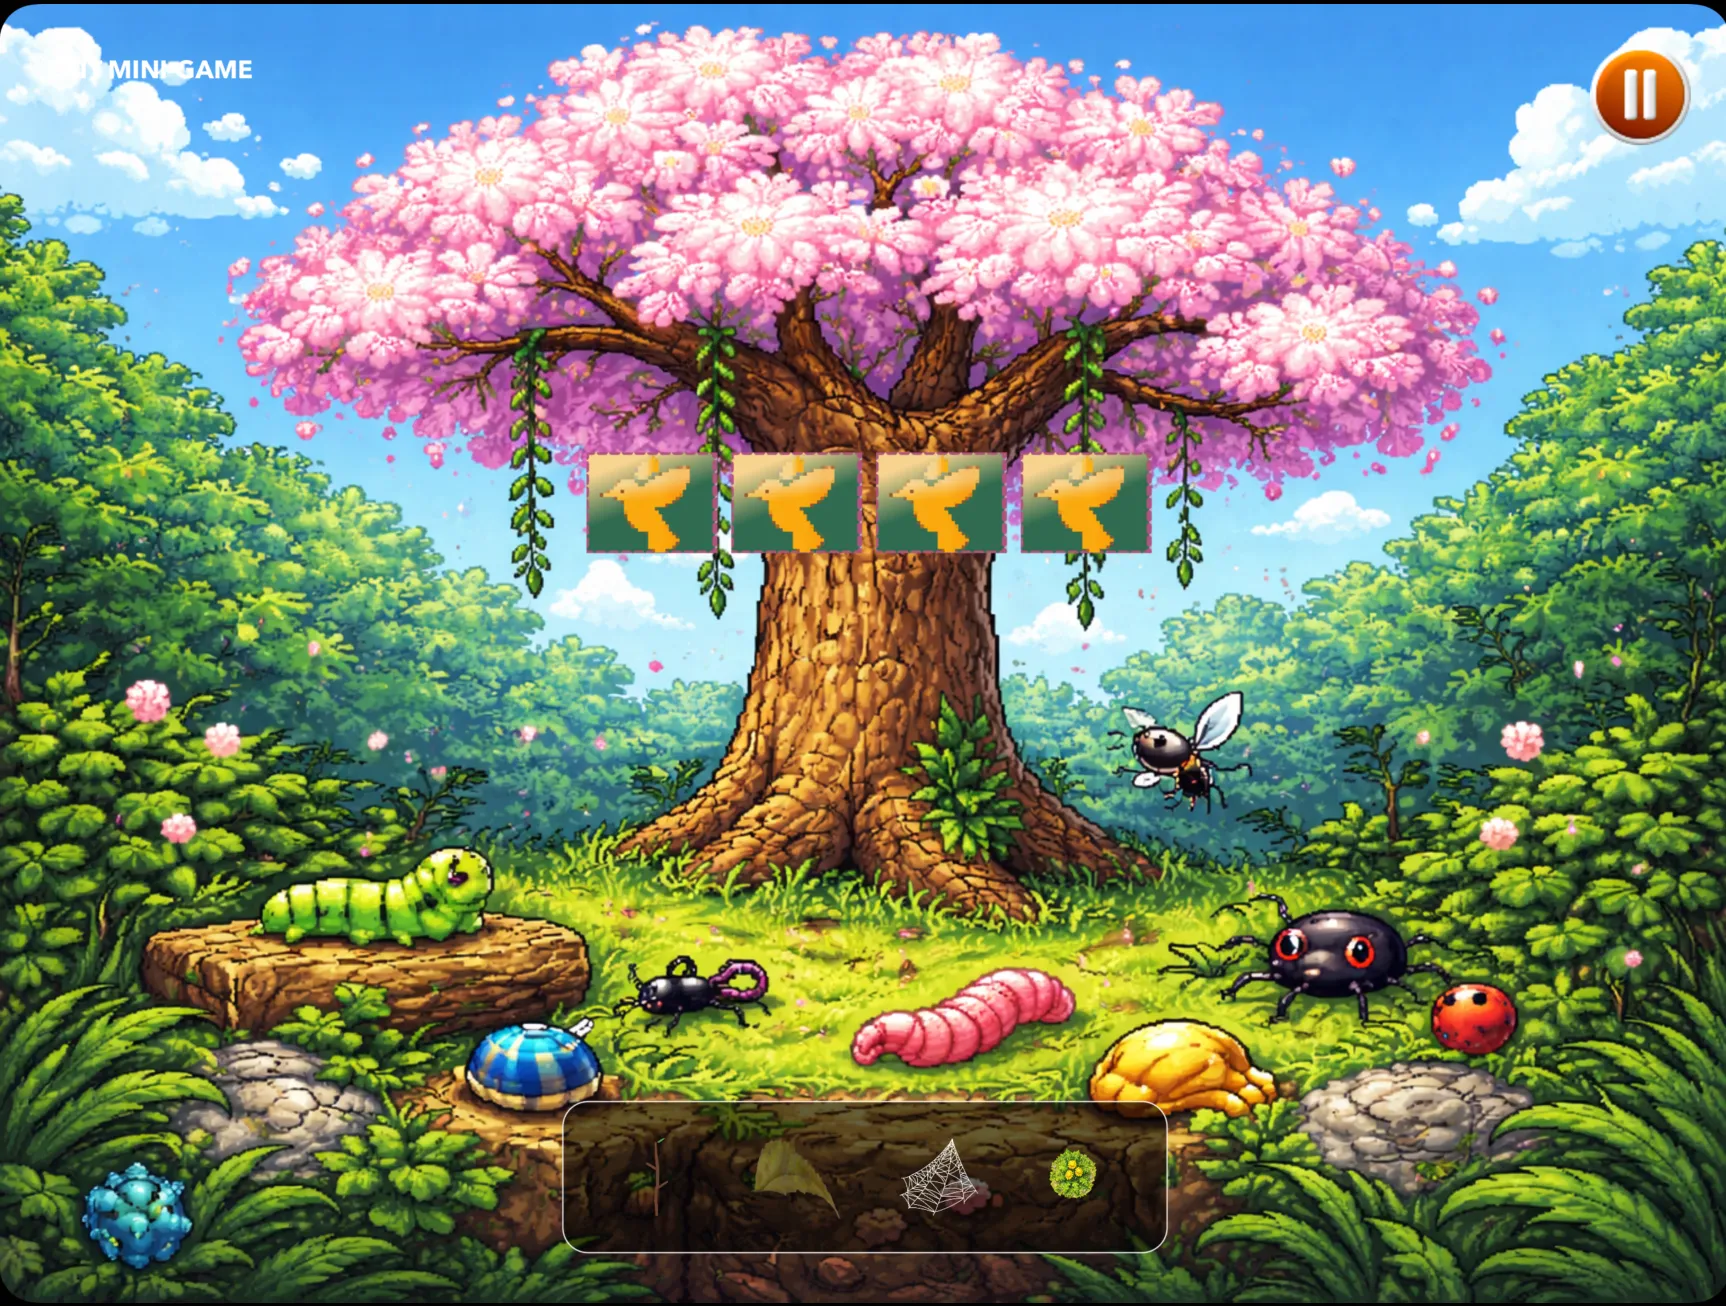
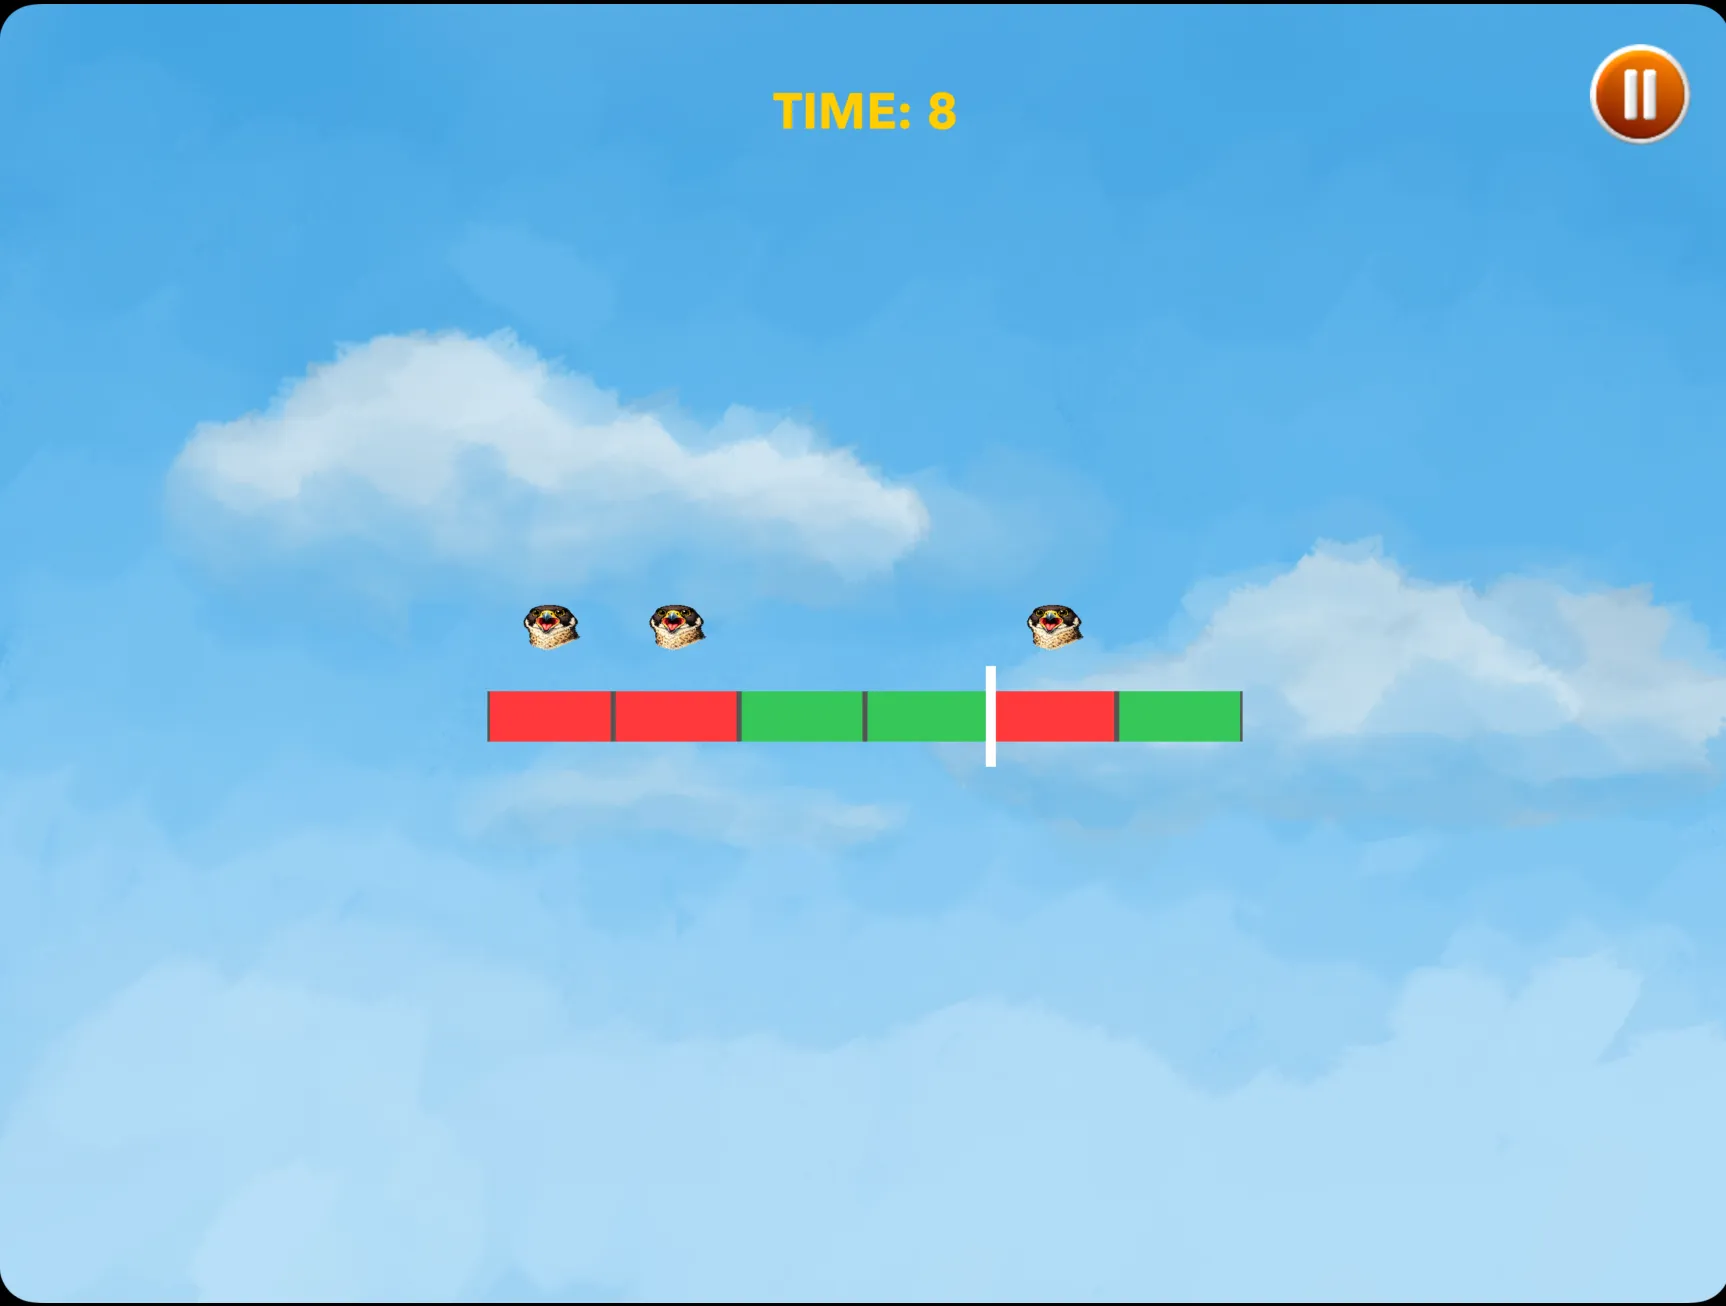
Hunger, score, and nest progress carry across every mini game, which is what makes a run feel like one game instead of five.
Overview
Take Flight is a 5-in-1 mini game collection set on Belle Isle, built by a team of five in six weeks. The loop is survive, grow your nest, and chase a high score across challenges built around memory, coordination, speed, and reflexes.
It was my first SpriteKit project. I owned the core game loop, Game Center integration, the virtual controller, and tutorial mode.
The problem
Five separate mini games can very easily feel like a playlist of unrelated screens rather than one game with stakes.
Each mini game had its own scene and its own logic, but all of them needed to read and write the same hunger, score, and progression state.
Input had to work as a touch joystick on device and as keyboard control in the simulator, both driving the same movement system.
I had never used SpriteKit, so the scene graph, physics bodies, update loop, and camera all had to be learned while the build was already running.
Approach
01
Learn it system by system
Rather than reading the whole framework first, I built small isolated tests for physics, cameras, and collision, then wired each proven piece into the real game.
02
One state across five scenes
A central RunState model that every scene reads from and writes to. Scene transitions hand the same model forward, so hunger and score carry across challenges.
03
One input layer
A custom SwiftUI joystick normalizes drag into a CGPoint velocity clamped to the joystick radius. Keyboard input writes the same property, so SpriteKit only ever reads one value.
04
Persist as you play
The update loop accumulates deltas and writes player position, camera position, and hunger on an interval, so a run survives being interrupted.
Technical highlights
Accumulator-driven updates - Position saves and hunger decay run off separate time accumulators in the update loop rather than per frame, keeping writes cheap.
Camera and player clamping - Both the player and the following camera clamp to map bounds each frame, so the world never shows its edges.
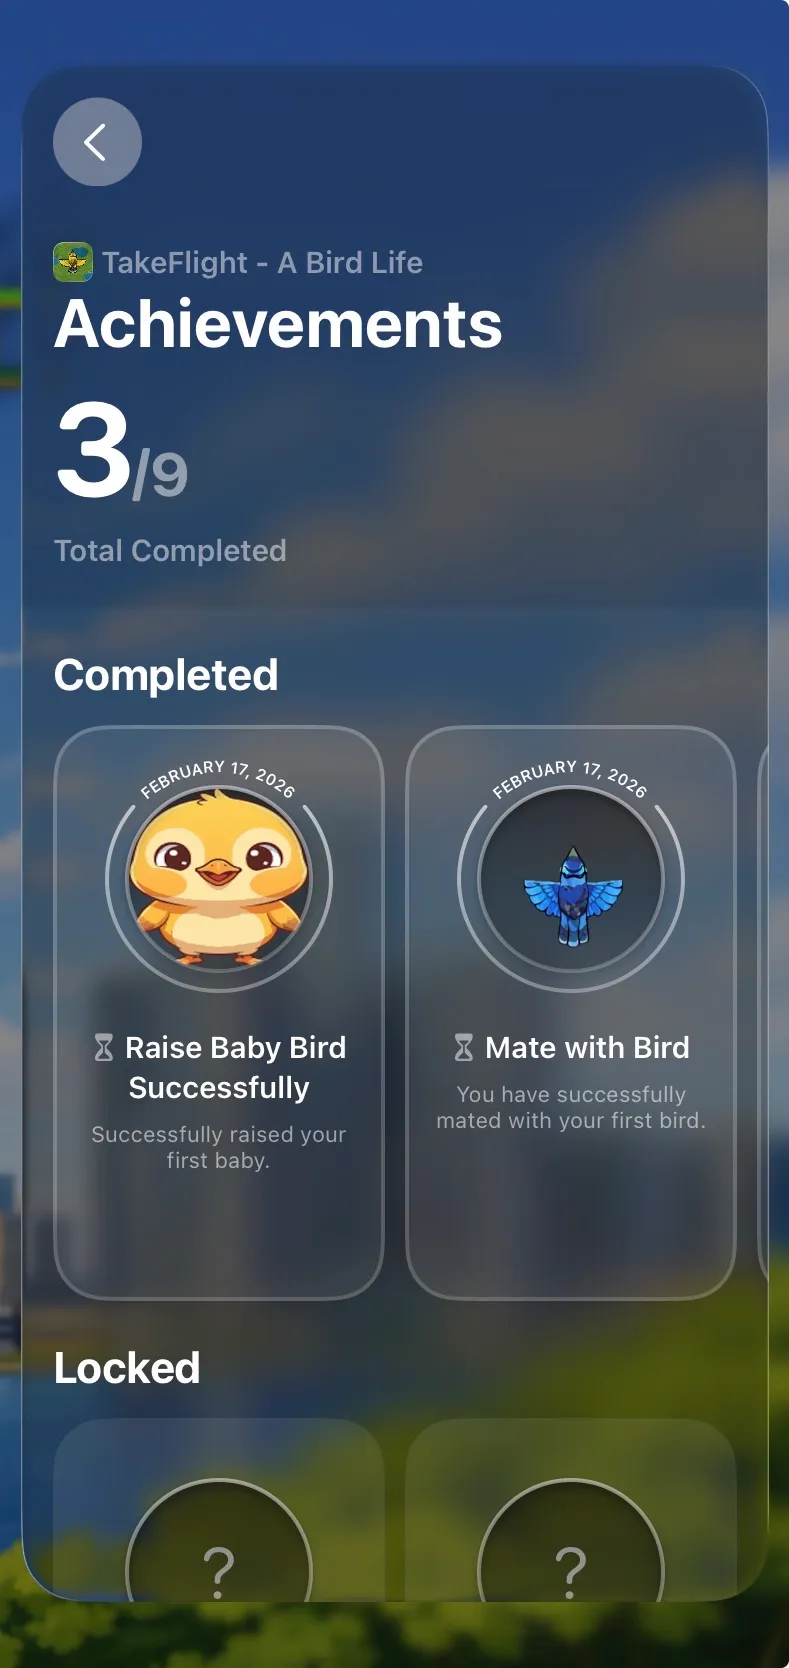
Game Center - Full authentication, leaderboards, and achievement reporting, wired in early enough that progression could be designed around it.
SwiftUI and SpriteKit split - Menus, HUD, and tutorial live in SwiftUI while gameplay stays in SpriteKit, with a clear boundary about which layer owns what.
Screens
The Run
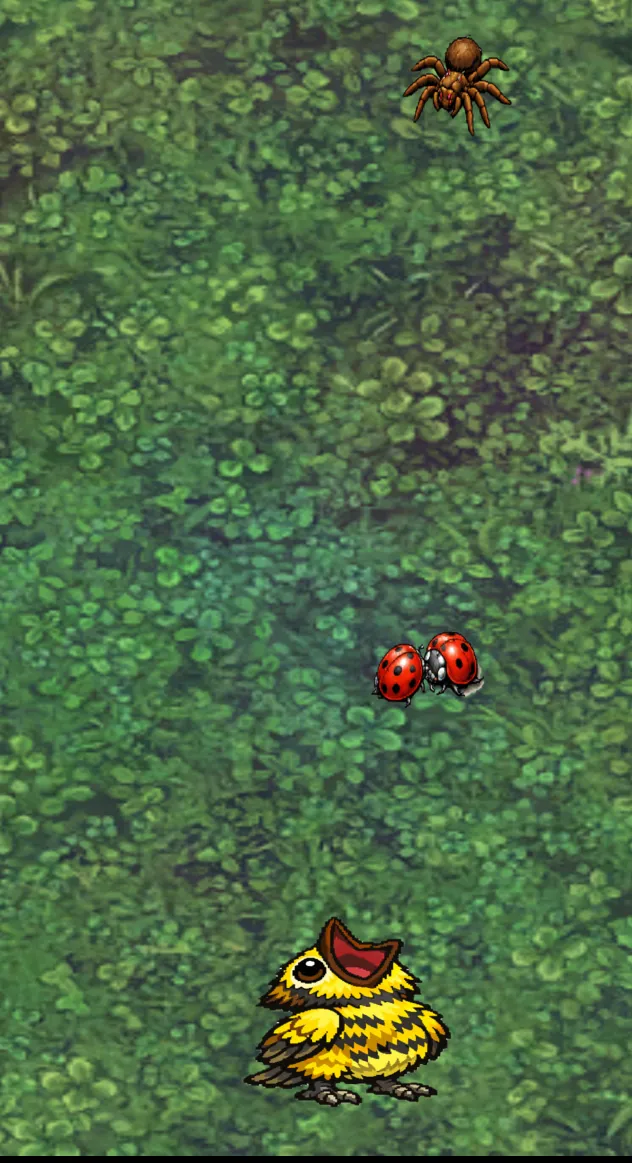
Survive, feed, nest, and push the score higher on Belle Isle.
Quick Challenges
Rotating mini games testing memory, coordination, speed, and reflexes.
Build Your Nest
Collect materials around the island and find the right nesting tree.
Avoid Predators
Dodge threats around the island to keep the run alive.
Code
Game Center - Auth + Achievements
Swift
Authenticates the local player with Game Center on launch and reports achievement completions with a native banner.
// Call once at app start or main menu.
@MainActor
func authenticateLocalPlayer(presentingViewController: UIViewController?) async {
    let localPlayer = GKLocalPlayer.local
    localPlayer.authenticateHandler = { viewController, error in
        if let viewController, let presentingViewController {
            presentingViewController.present(viewController, animated: true)
            return
        }

        if let error {
            print("Game Center auth error: \(error.localizedDescription)")
            return
        }

        self.isAuthenticated = localPlayer.isAuthenticated
    }
}

// Set an achievement to 100% immediately.
func completeAchievement(id: String, showBanner: Bool = true) async {
    guard GKLocalPlayer.local.isAuthenticated else { return }

    let achievement = GKAchievement(identifier: id)
    achievement.percentComplete = 100
    achievement.showsCompletionBanner = showBanner

    do {
        try await GKAchievement.report([achievement])
    } catch {
        print("Achievement report error: \(error.localizedDescription)")
    }
}
Custom On-Screen Joystick
Swift
A SwiftUI joystick built with DragGesture that clamps input to a circle radius and writes a normalized CGPoint velocity into the shared ViewModel for SpriteKit to read each frame.
// Custom Joystick
ZStack {
    Circle() // Background
        .fill(.white.opacity(0.3))


    Circle() // Thumbstick
        .fill(.white.opacity(0.8))
        .frame(width: radius, height: radius)
        .offset(x: fingerLocation.x, y: fingerLocation.y)
        .gesture(
            DragGesture(minimumDistance: 0)
                .onChanged { value in
                    isDragging = true

                    let dx = value.translation.width
                    let dy = value.translation.height

                    // Clamp to joystick radius
                    let distance = hypot(dx, dy)
                    let angle = atan2(dy, dx)
                    let clamped = min(distance, radius)

                    // Knob position inside the base circle
                    let knob = CGPoint(x: cos(angle) * clamped, y: sin(angle) * clamped)
                    fingerLocation = knob

                    // Normalize and flip Y so up is positive in SpriteKit
                    viewModel.joystickVelocity = CGPoint(x: knob.x / radius, y: -knob.y / radius)
                }
                .onEnded  { _ in
                    isDragging = false
                    fingerLocation = .zero
                    viewModel.joystickVelocity = .zero
                }
        )


}
.frame(width: radius * 2, height: radius * 2)
.contentShape(Circle())
Tutorial Mode
Swift
A RunState enum drives tutorial, active, and game-over phases. Contextual onboarding sheets fire at the right moments and dismiss cleanly into the active run.
if viewModel?.tutorialIsOn == true, viewModel?.inventoryFullOnce == false {
    viewModel?.showMainGameInstructions(type: .nestBuilding)
    viewModel?.inventoryFullOnce = true
}

enum RunState {
    case tutorial
    case active
    case gameOver
}

@Published private(set) var state: RunState = .tutorial

func completeTutorial() {
    state = .active
    showTutorialOverlay = false
}

func restartToTutorial() {
    state = .tutorial
    showTutorialOverlay = true
}

struct MainOnboardingView: View {
    @ObservedObject var viewModel: MainGameView.ViewModel
    @Environment(\.dismiss) var dismiss
    let type: MainGameView.ViewModel.InstructionType

    var body: some View {
        VStack(spacing: 16) {
            Text("Tutorial").font(.system(.title, design: .rounded)).bold()
            Text(viewModel.mainInstructionText(for: type))
                .multilineTextAlignment(.center)

            let resources = viewModel.mainInstructionImage(for: type)
            if let imageName = resources.first {
                Image(imageName).resizable().scaledToFit()
            }

            Button("Start") { dismiss() }
                .buttonStyle(.borderedProminent)
        }
        .presentationDetents([.medium])
    }
}
Core Game Loop
Swift
The SpriteKit update loop clamps delta time to a safe range, ticks down hunger on an accumulator, persists player position every second, then drives movement and camera follow.
override func update(_ currentTime: TimeInterval) {
    handleKeyboardMapInput()
    if viewModel?.isMapMode == true { return }

    viewModel?.currentMessage = ""

    if lastUpdateTime == 0 { lastUpdateTime = currentTime }
    let rawDelta: CGFloat = CGFloat(currentTime - lastUpdateTime)
    let deltaTime = min(max(rawDelta, 1.0/120.0), 1.0/30.0)
    lastUpdateTime = currentTime

    positionPersistAccumulator += deltaTime
    if positionPersistAccumulator >= 1.0 {
        positionPersistAccumulator = 0
        if let player = childNode(withName: "userBird") {
            viewModel?.savedPlayerPosition = player.position
        }
        viewModel?.savedCameraPosition = cameraNode.position
        viewModel?.saveState()
    }

    healthAccumulator += deltaTime
    if healthAccumulator >= 35.0 {
        healthAccumulator = 0
        if let current = viewModel?.hunger, current > 0 { viewModel?.hunger = current - 1 }
    }

    guard let player = childNode(withName: "userBird") else { return }

    updatePlayerPosition(deltaTime: deltaTime)
    clampPlayerToMap()
    updateCameraFollow(target: player.position, deltaTime: deltaTime)
    clampCameraToMap()
}
What is next
Next, I'd add adaptive difficulty so the game adjusts based on how you're playing, things like predator pressure, timers, and spawn rates. I'd also add more little milestone moments so progression feels clearer between the big goals. And I'd start tracking a few more stats besides score and hunger (time survived, nests completed, failed attempts) so I can balance the difficulty and pacing using real numbers instead of guessing.
Outcome
5Mini games
6Weeks to ship
5Person team
1Shared run loop
The final build feels like one survival game rather than a bundle of mini games, and that came down to a single shared state model more than any individual scene. Learning SpriteKit under a six week deadline also changed how I approach unfamiliar frameworks: isolate the piece, prove it works, then integrate, instead of trying to understand everything before writing anything.